Quick answer: A strong special education classroom setup is organized into clear zones: a teacher table for small groups, independent work stations, a calm-down area, a group meeting space and a materials area. Add visual schedules, labeled storage, clear traffic paths and spaces matched to students’ sensory needs. Plan the room around your students’ IEPs and your schedule, so every adult and student knows where each activity happens.
In this guide
Your room is your first teaching tool. A thoughtful special education classroom setup reduces wandering, transitions and behavior problems before you say a word. It also makes your paraprofessionals’ work easier, because the space itself shows what happens where.
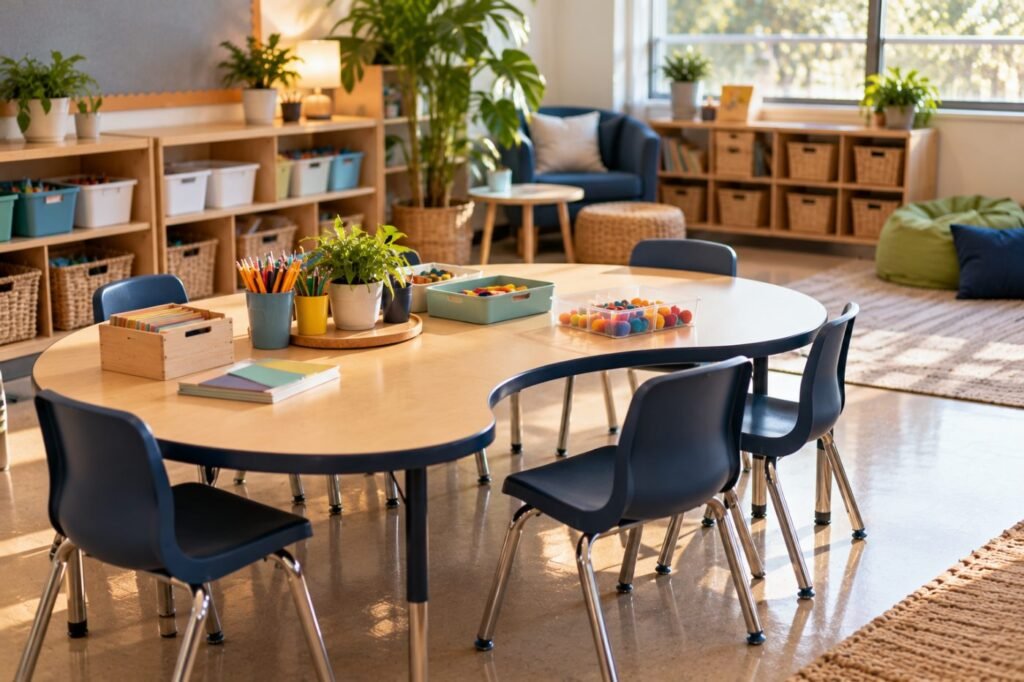
Essential Zones in a Special Education Classroom Setup
| Zone | Purpose | Tips |
|---|---|---|
| Teacher table | Small-group and 1:1 instruction | Kidney table facing the room so you see everyone |
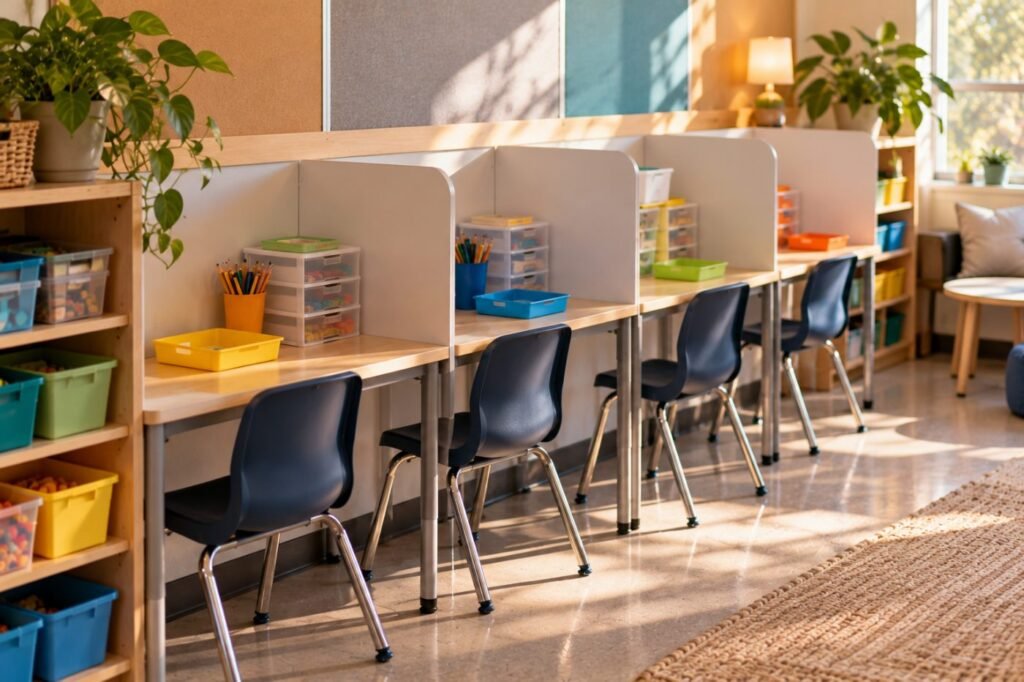
| Independent work stations | Practice of mastered skills | Left-to-right task boxes, finished bin |
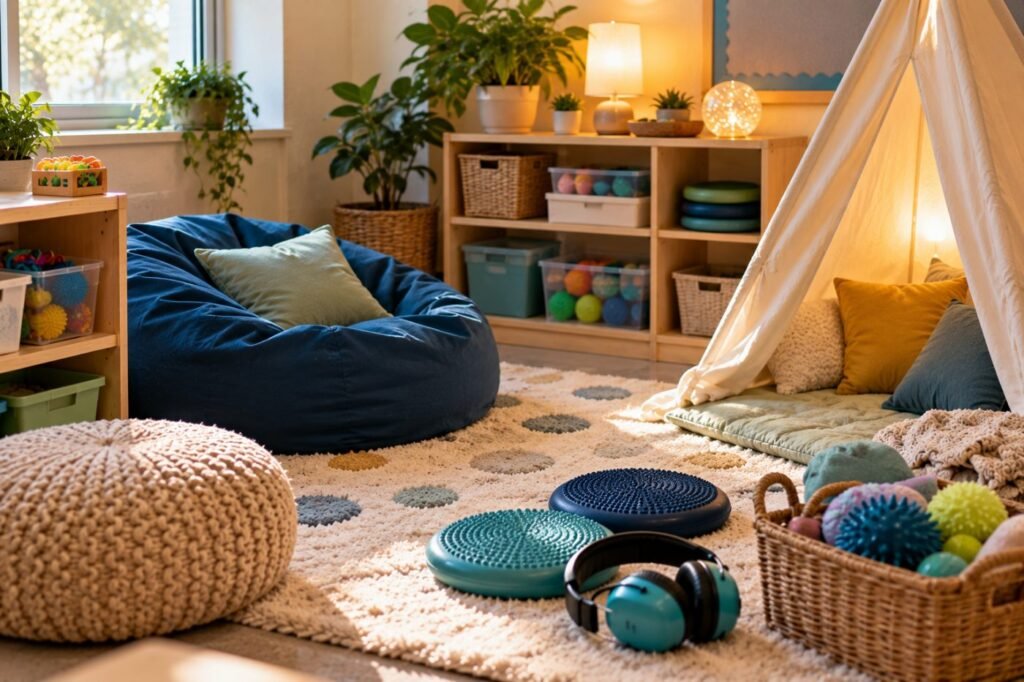
| Calm-down area | Regulation, not punishment | Soft seating, visuals, timer, sensory tools |
| Group area | Morning meeting, whole-group lessons | Carpet spots or chairs with names |
| Materials and storage | Supplies and data binders | Labeled with pictures and words |
| Computer or AT station | Assistive technology and practice apps | Headphones, charging area |
Key point: Each zone should have one clear purpose. Students learn routines faster when a space always means the same activity.
Visual Supports
Visuals every room needs
See visual schedules in the classroom for templates and tips.
Sensory Considerations
- Reduce clutter on walls near work areas.
- Use lamps or natural light instead of harsh lighting where possible.
- Offer noise-reducing headphones and quiet corners.
- Provide flexible seating: wobble cushions, standing spots.
- Keep calm-down tools accessible and taught in advance.
Learn more in sensory-friendly classroom.
Setup Checklist
| Before students arrive | Done? |
|---|---|
| Zones labeled and furniture arranged | ☐ |
| Visual schedules posted | ☐ |
| Data binder or digital system ready | ☐ |
| Emergency plans and medical needs posted privately for staff | ☐ |
| Para roles posted for each block | ☐ |
| Reinforcer menus prepared | ☐ |
Note for paraprofessionals
“During Block 2, Ms. Jones runs the independent work stations and records completion on the clipboard. I teach reading groups at the teacher table.”
Real-Life Example
Case story
Mr. Chen’s room had one large table where everything happened. Students wandered and argued over materials. He created five zones, added a rotation board and moved the calm-down area away from the door. Within two weeks, transitions took half the time and his paras knew exactly where to be.
Related: See first-year special education teacher and classroom management in special education.
Special Education Classroom Setup FAQ
What zones should a special education classroom have?
Teacher table, independent work, calm-down area, group area and materials storage.
Where should the calm-down area go?
In a quiet corner away from doors and high-traffic paths.
How do I set up a resource room?
Focus on small-group tables, a materials area and visual schedules.
Should walls be decorated?
Keep them calm and useful; too many visuals can distract.
How often should I change the setup?
Review it after the first month and whenever needs change.
In short: A special education classroom setup built on clear zones and visuals teaches routines before you speak. This article is part of our New Special Education Teacher series.
Was this article helpful?
Tap a star to rate
Sources
- IRIS Center. Classroom Behavior Management (Part 1): Key Concepts and Foundational Practices
- IRIS Center. High-Leverage Practices
- AFIRM (2024). Reinforcement Brief Packet
This article is educational and does not replace district guidance.